Why do you need to maintain your furnace in the summer?
With our current pleasant weather, you may be thinking it’s too early to prep your furnace for winter..
But, supply chain shortages are still happening. And HVAC parts will become less available as colder months hit. Who wants to wait months for a replacement part or service during an Alaskan winter?
For your safety and comfort, we recommend prepping your furnace now.
Ahead, we’ve detailed a summer maintenance checklist for your furnace.
*Have a boiler instead? Stay tuned because we’re publishing a separate boiler spring maintenance checklist soon!
Furnace Maintenance Task List:
Step 1: Check for Blockage
If you have blocked furnace exhaust vents, you could potentially introduce dangerous gasses (like carbon monoxide) into your home.
To avoid this, inspect the airflow throughout your ventilation system. And go outside to check for build-up in your exhaust vent (and intake vent).
Be sure to clear any type of blockage, including vegetation, rodents/birds, branches/leaves, soot, or debris you see.
But, if corrosion or rust is causing a blockage, you’ll need an HVAC professional to fix that portion.
Step 2: Inspect the Flue Pipe
Check your exhaust’s flue for any holes.
This will also prevent carbon monoxide leaks — especially where the pipe meets the furnace.
Although you can patch small holes with foil tape, you’ll need to fully replace any corroded flues.
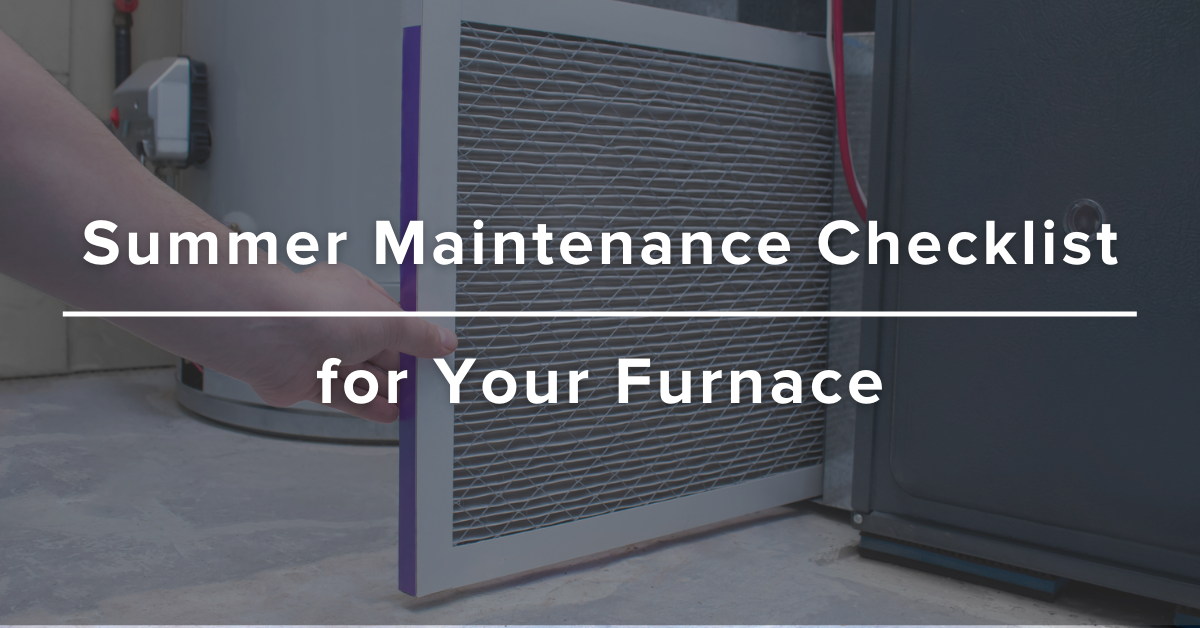
Step 3: Check, Clean & Change Your Air Filters
Check your air filters monthly and replace them at least once every three months.
By keeping your air filters clean, you will reduce the amount of indoor contaminants entering your home. As a result, you’ll breathe in healthier air (and save energy).
Top Tip: Update your air filter to an electrostatic, high-efficiency pleated version. Electrostatic air filters capture particles like pollen, mold, and dander more effectively than conventional filters.
Step 4: Clean Your Vents, Chimneys, and Registers
Remove your floor registers and vacuum out the ducts. Ducts can hold hair, food scraps, and dust— all pollutants that will contaminate your home’s indoor air quality.
Pollutants reduce the efficiency of your units because they strain your system. So now, your system must work harder than it needs to (causing you to use more energy in the long-run as well).
Top Tip: Examine the areas around your registers too. Do you see any furniture or household items blocking your registers? If so, store them away. Blocked registers hold heat in the ductwork, also straining your furnace. This can lead to problems with the heat exchanger (the most expensive part of your furnace).
Step 5: Check Your Insulation & Ductwork
Don’t forget to check your insulation.
Rule of thumb: If you can see the tops of the joists in your attic, you’ll need to fix this.
Improper insulation reduces your heating and cooling system efficiency (which equals higher energy bills).
To fix this, add a new layer of unfaced batt insulation (perpendicular to your old layer). Then, push the pieces together until they fit seamlessly side by side.
But, if you have more than a few inches of joist showing, you’ll need to use fiberglass or blown-in cellulose, which may fill your crevices better.
Top Tip: Check your ductwork for open joints too! As well as dust buildup, rust, and mold. You can reseal loose joints with duct tape, but you’ll need a professional replacement or repair for any corroded ducts.
Step 6: Stay on Top of Your Heating-System Servicing
To maintain your furnace, keep up with your service appointments.
A professional technician will test, clean, care for, and inspect your unit.
An annual service typically costs less than $225 (a much more affordable investment than a complete furnace replacement or after-hours emergency no heat call).
However, for any replacement, we do offer affordable payment plans here at 0% interest.
Top Tip: If you’re DIYing your furnace maintenance, always switch off your electrical power (and fuel supply) before touching any of your system’s parts.
Step 7: Check Your Thermostat
To listen to your furnace or heating system (and check if it’s running continually), turn up your thermostat.
If you hear it shut off within a few minutes and before it reaches the set temperature, you may be encountering a short cycling problem.
The only solution to this is getting your thermostat recalibrated or replaced by a professional.
Step 8: Clean Your Combustion Chamber & Blower
Always clean your combustion chamber and blower.
What is the purpose of your combustion chamber? It’s where the fuel mixes with air, igniting to output heat.
This process can result in carbon soot. A buildup of carbon soot can cause your chamber walls to corrode. The best way to clear this soot is by using a small wire brush on your chamber walls.
Next, vacuum any loose material. Also, inspect your chamber for any corrosion or holes (before replacing the cover).
Be sure to also vacuum out the area that houses the blower. Then, check your blower belt for signs of wear (and proper tension). A loose belt can slow the blower, reducing your system’s efficiency.
Stay tuned for Part 2: Boiler Maintenance!
Jumpstart Your Furnace Maintenance Before Supplies Become Less Available!
At Diamond Heating & AirTemp Alaska, we service residential and commercial heating and cooling systems. With 25+ years of experience, 24-hour emergency service, and trained HVAC experts who specialize in heating system repair, replacement, and maintenance— we’re here for all your cooling and heating needs. Contact us today for a FREE quote!


