Boiler maintenance in summer?
As we mentioned in our furnace summer maintenance checklist, supply chain shortages are still happening. So, it’s never too early to prep your HVAC system before you need to crank up the heat.
Ahead, we’ve detailed a maintenance checklist for your boiler.
Why Should You Maintain Your Boiler Now?
If you have a gas boiler, conducting regular heating system maintenance is crucial. Taking these extra measures increases the reliability of your unit while reducing operating costs.
Plus, it prolongs the life of your equipment (saving you money in the long run).
Without hiring a professional, here are a few inspections you can start to DIY.
Boiler Maintenance Task List
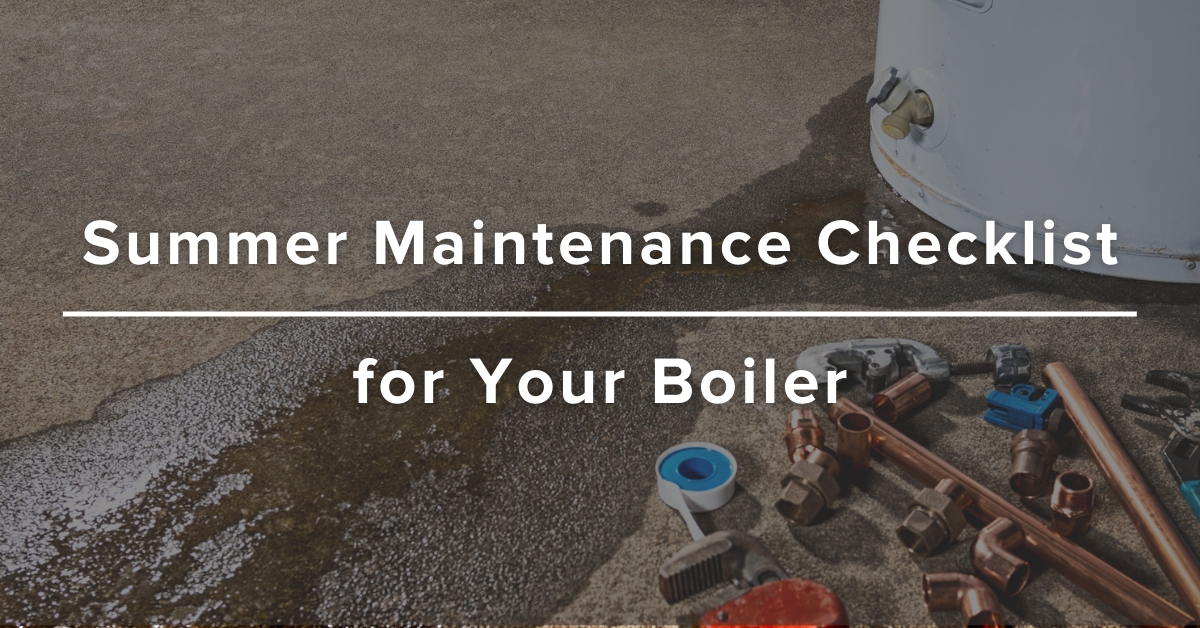
Step 1: Inspect Around (and Under) for Leaks
Some signs of a leak include black stains above (or near) your boiler.
Funky smells can also indicate gas leaks, so if you smell something unusual, get your unit inspected.
Also, if you notice excess condensation on your windows, this can signal a leak.
Top Tip: Check your pilot light too. If it’s burning orange or yellow (instead of blue), you may need to get your unit professionally checked.
Step 2: Ensure Your Boiler is Clean
Scrub your boiler’s tubes and clean the overall unit. If you see any dust build-up, wipe it down and keep the area around your boiler clean.
This step also improves the efficiency of your unit.
Step 3: Check Your Temperature & Pressure Readings
For a residential boiler serving a two-story home, your typical pressure should fall at a 12 psi range cold (and less than 30 psi hot).
If you’re seeing a boiler pressure over 30 psi, it may cause your pressure valve to open.
Typical boiler operating temperatures = between 120 and 160 °F.
Step 4: Check For Any Error Codes
If you also see a boiler fault code, this means you should check your boiler manual.
Sometimes all it takes is bumping up the boiler pressure, while other times, this error requires a certified gas engineer to step in.
Step 5: Inspect Your Combustion Air Opening for Any Blockages
Boilers require just the right amount of combustion air for safe and efficient combustion.
Not enough air? You’ll experience sooting, CO formation, and damage to your equipment (which can potentially cause an explosion too).
Too much air? And you’re looking at higher energy costs.
Step 6: Listen for Unusual Noises Coming from Your Unit
Hearing odd noises from your boiler?
You may either have some build-up debris on your boiler’s heat exchange or a faulty thermostat.
Either way, if you see build-up, you’ll need a professional to conduct a power flush.
Step 7: Inspect the Combustion Air Piping and Flue Gas Vent Piping
Remove your flue cap to check for blockages (like debris or birds’ nests). Then, replace and secure your cap tightly onto the end of your flue pipe.
The best way to look for signs of blockage is to examine your pipes.
Do you see water streaks? Rust?
Both can cause moisture to back up.
Step 8: Inspect the Relief Valve Discharge Pipe & Boiler Relief Valve
The pressure boiler relief valve (PRV) is also known as a safety release valve.
Its function? To prevent a build-up of pressure in your system.
The valve opens to release pressure if the level becomes too high. And vice versa, closing again when the pressure drops into a safe range.
Step 9: Inspect the Condensate Drain Line
All you need to inspect your drain pan is a flashlight.
Check the opening of the condensate drain line for any debris or obvious backups.
If you see any condensation in the overflow pan, you most likely have a drain line clog.
Top Tip: Check your drain system, PVC fittings, and drain trap too.
Step 10: Inspect Your Boiler’s Hydronic Piping
Powerflush your system to remove any existing treatment and contaminants.
First, switch on your boiler and circulate a Fernox Cleaner F3 or Cleaner F5 for one hour.
Taking this step should help drain your system. Just be sure to flush it until water runs clear.
Step 11: Inspect the Burner Flame
Let your boiler operate normally for about 1-5 minutes. Then, carefully take out the flame eye sensor and cover it with a cloth, paper, or wrap.
If it’s working properly, you’ll notice within a few seconds of pulling out your flame eye, an alarm will sound (initiating an emergency shutdown).
Will DIY Inspections be Enough?
Performing DIY inspections are great, but it’s also essential to have a qualified boiler technician come to your home to perform an annual inspection.
During this inspection, your technician will:
- Inspect your heating system.
- Fix any system issues.
- Check your control settings.
- Test safety controls.
If you’re experiencing any boiler problems, including but not limited to water leaks or unusual and unpleasant smells, an increase in energy bills, or strange noises from your equipment, your boiler may be facing mechanical problems.
In these cases, it’s best to call a professional right away.
Jumpstart Your Boiler Maintenance (and total HVAC maintenance) Before Supplies Become Less Available!
At Diamond Heating & AirTemp Alaska, we service residential and commercial heating and cooling systems. With 25+ years of experience, 24-hour emergency service, and trained HVAC experts who specialize in heating system repair, replacement, and maintenance— we’re here for all your cooling and heating needs. Contact us today for a FREE quote!


